You may have seen this fun character in the past few weeks!
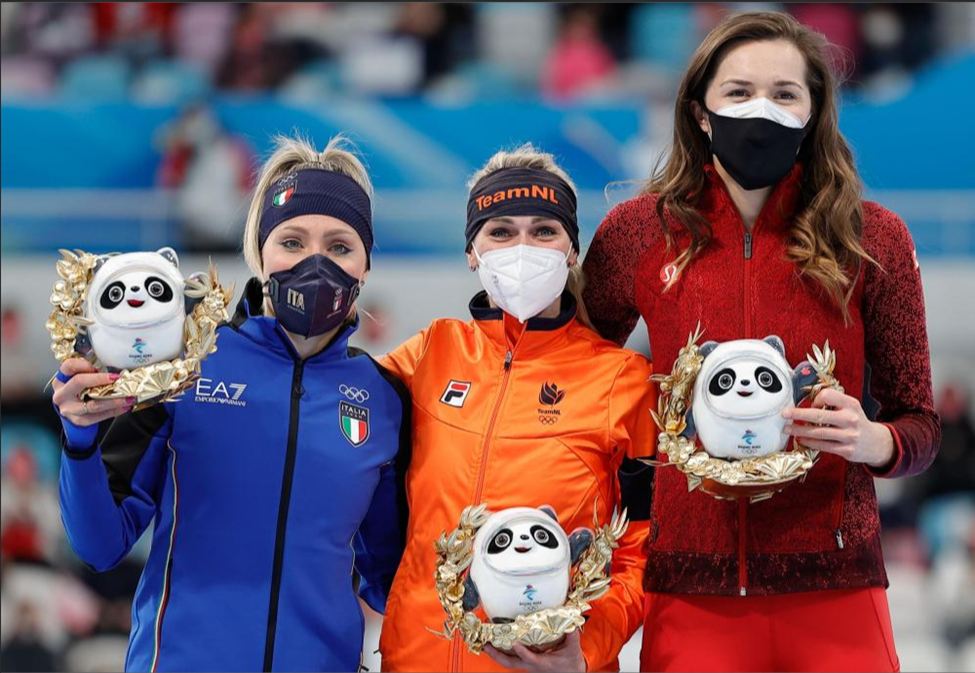
This panda wrapped in a plastic shell is the mascot of this Winter Olympics: Bing Dun Dun. “Bing” means ice, and “Dun Dun” means honest and cute. As soon as BingDunDun debuted, it quickly became popular on China’s Internet. So popular, the toy doll is sold out everywhere!
Since you can't buy it, why not make a virtual one? To do it, do something like this:
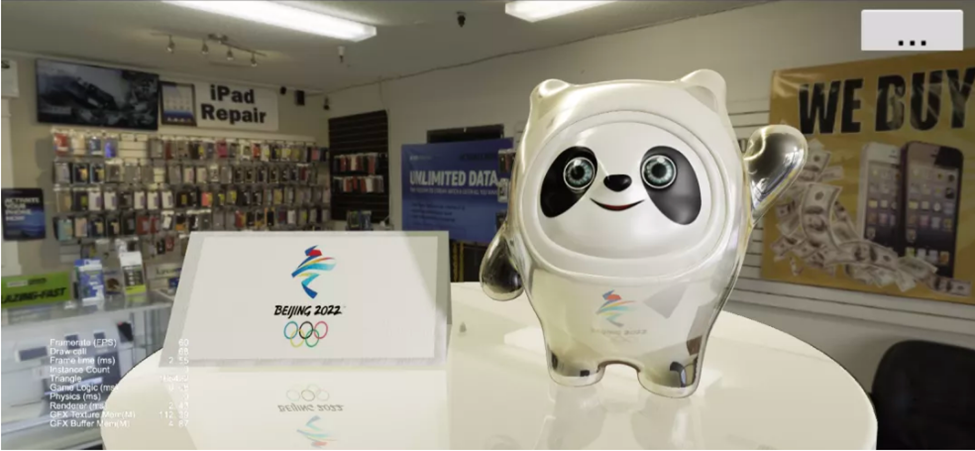
Today, Kylin will teach you how to make your replica with Cocos Creator.
This tutorial took Kylin about 10 hours in total. Friends who can't wait to get their hands dirty can scroll to the end of the article and download this free project.
1. Make a 3D model
First, go to the Internet to find a 3D model of BingdunDun. If there is a problem with the format, you can adjust it in software such as Blender. The model you find is probably similar to the one in the picture below.
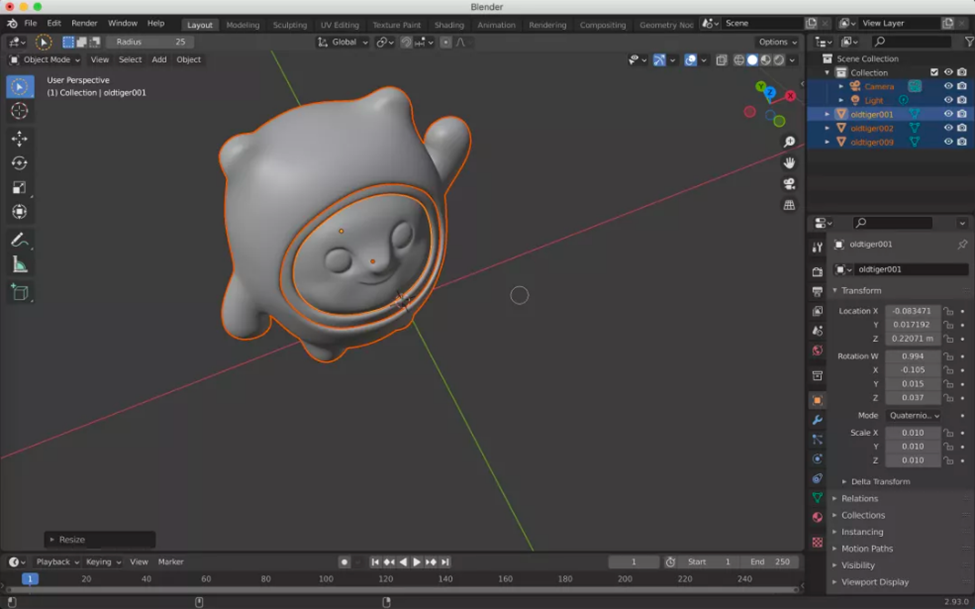
2. Import Cocos Creator
After adjusting the model, export it to a model format recognized by the engine (this tutorial uses the *.glb format).
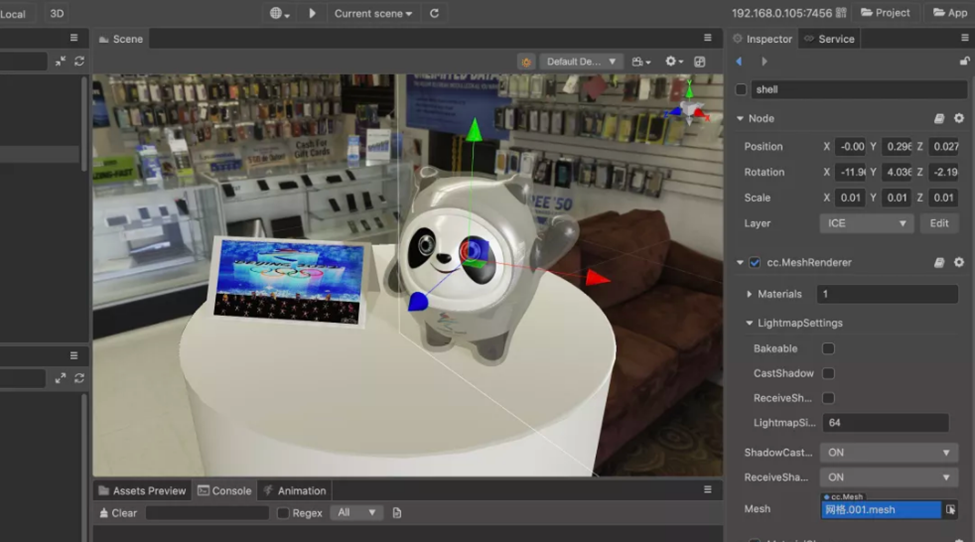
Import the exported file into Cocos Creator (the v3.4.1 version currently used by Kylin). The BingdunDun 3D model used in this paper consists of 3 parts.
- body
- chest ring
- shell
As shown below:
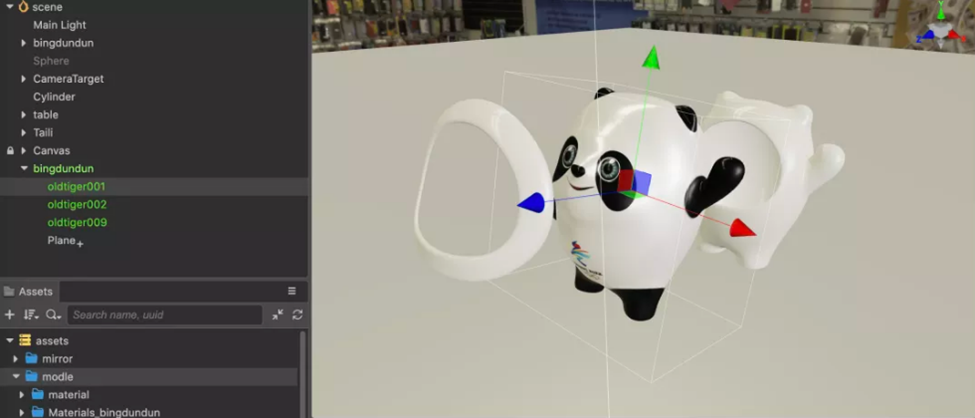
Don't forget to set the skybox and enable IBL.
3. Adjust the material
The default textures are already suitable for the body and chest ring, so we will focus on the shell effect.
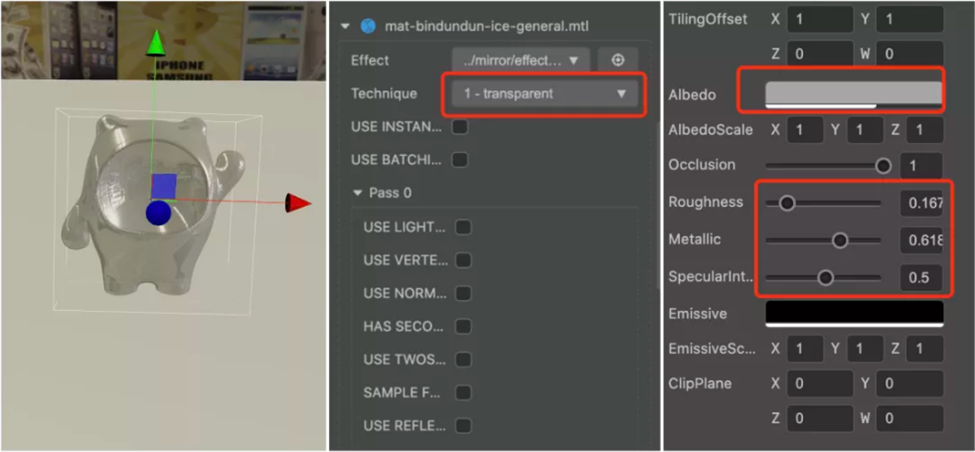
- Create a new material and switch the material's technique to transparent.
- Adjust the Albedo flat difuse color and alpha values so that the shell opacity and color values are what you like.
- Adjust the roughness and metallic parameters to form highlights and reflections and adjust the parameters as shown in the figure below (the specific parameters are based on personal preferences and do not need to be strictly followed).
The possible effects are shown below:
Fourth, with the scene
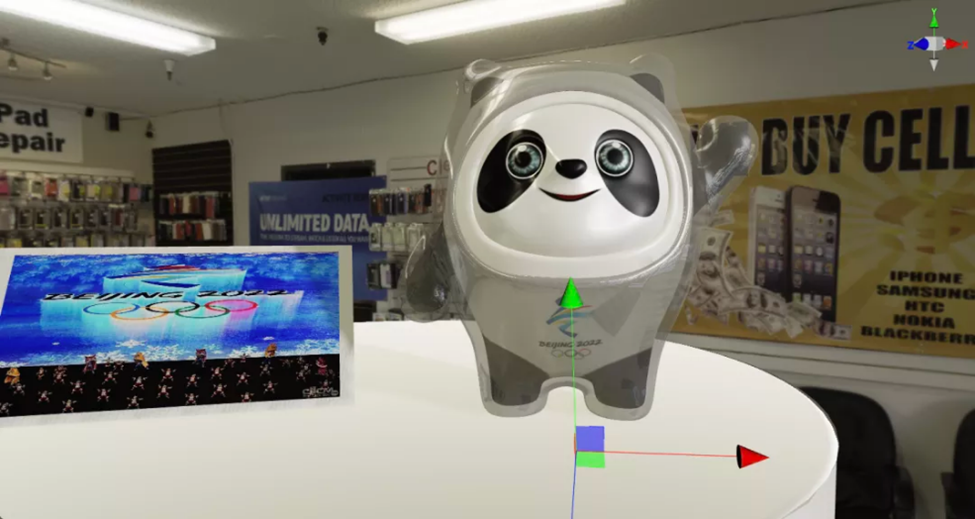
1. Create a new cylinder, adjust the appropriate size, and place the platform onto the scene we made with BingDunDun. As shown below:
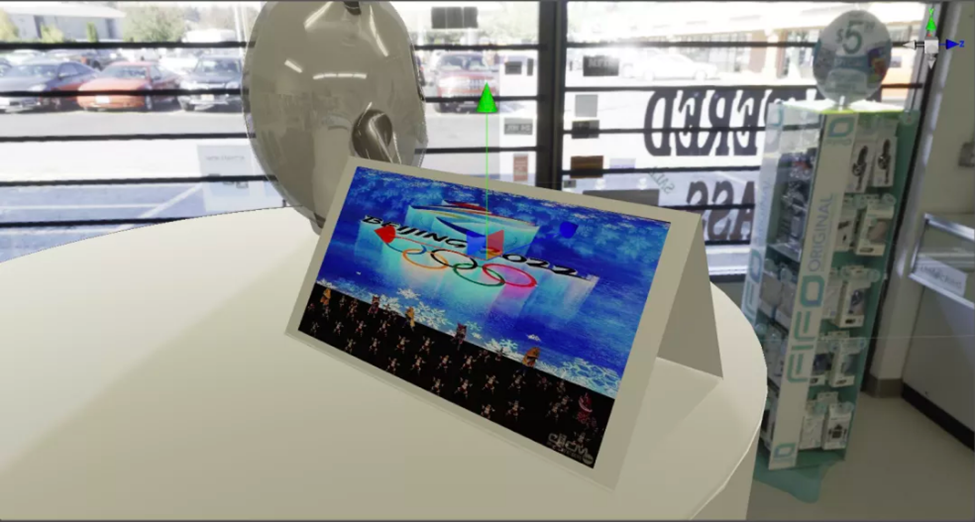
2. Create several new Quads. After a series of scaling, rotation, and translation, select two faces and paste them together into a texture, and you can get the following desk calendar:
Kylin also wrote a simple script for switching the calendar images, which you can find in the tutorial source code.
5. Light and shadow and visual adjustment
1. Enable the ShadowMap and adjust the light source direction to match the light direction of the environment map.
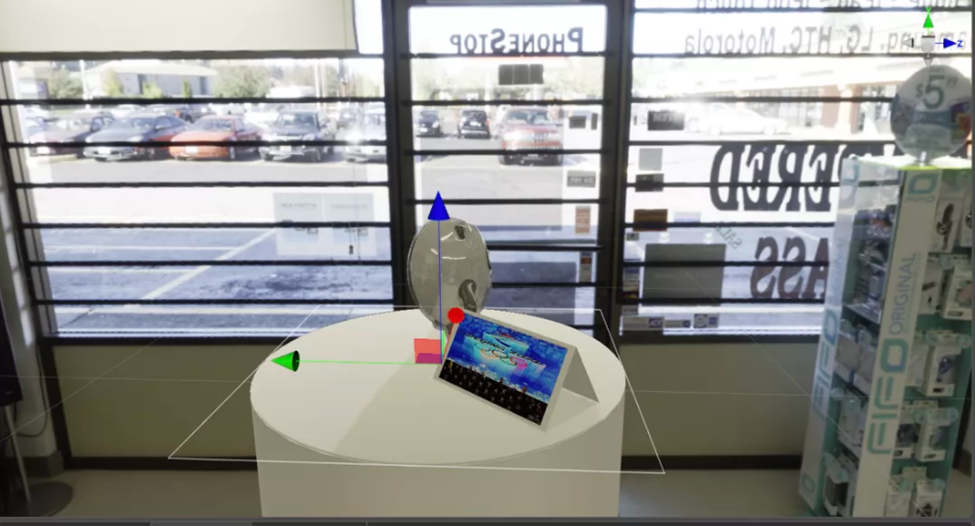
2. Adjust the camera position.
Here Kylin wrote a script to make the camera rotate around Bingdundun.
The final effect is shown in the following figure:
I could say I’m done, but many developers might ask…
- What about reflections on Bing Dundun?
- What about the contour effect of the edge of the plastic case?
- What about the contour effect of the edge of the plastic case?
6. Reflection on the table
The reflection on the table is rendered using real-time reflection effects. The core idea is as follows:
1. Render the reflected camera
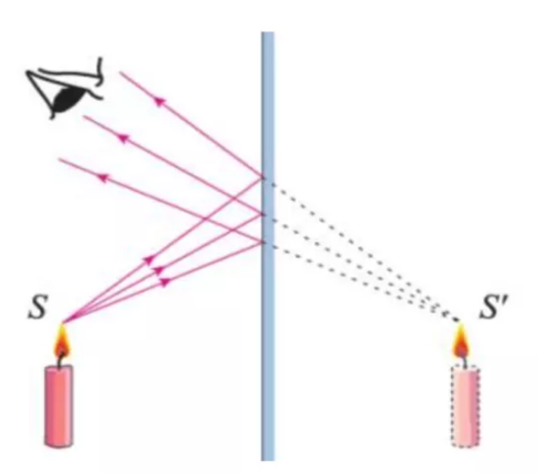
In middle school, we learned the principle of plane mirror imaging in the picture above.
According to this principle, we know that to obtain the content of the plane mirror, we only need to calculate the spatial data (coordinates, rotation) of the object symmetrical about the mirror.
But there are many objects in the whole world. A more efficient way is to calculate the spatial data of the camera about the specular surface, generate a mirror camera, and use this camera for rendering.
A camera that renders reflections needs to output content to a render texture.
For the derivation of the mirror matrix, see
Mirror.ts.
2. Customize user clipping plane
When the camera mirror is flipped, there may be a situation where an object is behind the mirror and just within the field of view of the mirrored camera.
In this case, objects that should not be rendered (we only want the objects in front of the mirror) will be rendered. In severe cases, the camera will be blocked by objects and cannot see (render) the objects in front. In this case, use a custom user clipping plane.
The basic logic of a custom user clipping plane is: if a pixel is in front of a specific plane, it is retained, and if it is behind the plane, it is discarded.
The plane-related content in 3D programming does not belong to the scope of this article. You can search for it yourself or wait for the tutorials behind Kylinzi to share.
3. Global Uniform
Since all objects involved in rendering need to judge the user-defined clipping plane, the current engine version does not provide a mechanism for customizing the global uniform.
When the mirror surface changes, it must traverse all objects to find the material and set the relevant uniform parameters.
To solve such a problem, Kylin has a flash of light: if you don't allow to add, you can't even borrow? Can we borrow the free global variables?
After consulting the relevant code, Qilinzi found several free global variable components:
- cc_time.w
- cc_fogBase.w
- cc_fogAdd.w
- cc_nearFar.zw
Shader code is used as follows:
void checkClipPlane(){
  vec4 clipPlane = vec4(0.0,0.0,0.0,0.0);
  clipPlane.w = cc_time.w;
  clipPlane.x = cc_fogBase.w;
  clipPlane.y = cc_nearFar.z;
  clipPlane.z = cc_nearFar.w;
  bool enabled = (clipPlane.x != 0.0) || (clipPlane.y != 0.0) || (clipPlane.z != 0.0);
  float dist = dot(v_position,clipPlane.xyz) + clipPlane.w;

  if( enabled && dist <= 0.0 ){
    discard;
  }
}
Please see GlobalUniformMgr.ts and Mirro.ts in the tutorial for the TypeScript code that works with it.
The final texture content we get is as follows:
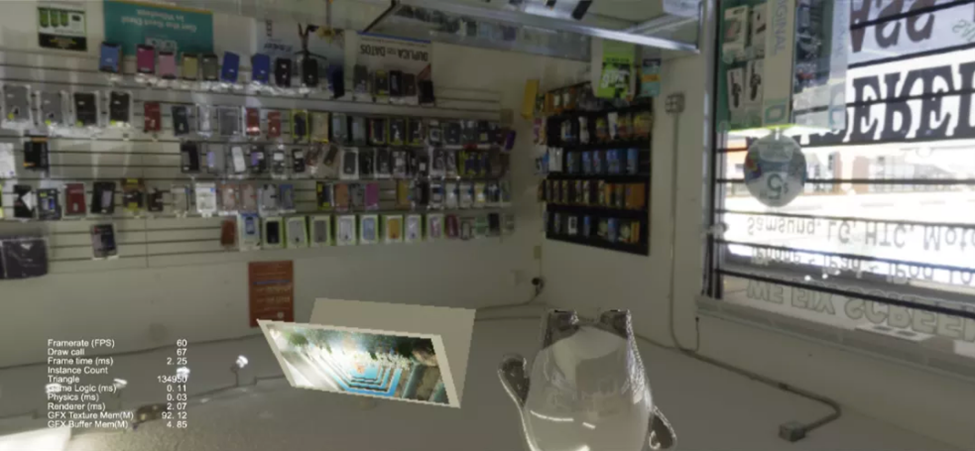
It can be seen that it is upside down when you hide the platform and normal assets.
4. Projection texture mapping
Projection texture mapping is a proper term, and its principle is actually straightforward. When performing texture mapping, the uv coordinate information of the vertex is not used, but the position information of the vertex projected on the screen is used.
When WVP transforms the vertex Pl (x, y, z, 1), it enters the clipping coordinate system, and the point Pc (x, y, z, w) is obtained, and Pc is already a screen space coordinate.
After the perspective division of Pc, the point Pndc(x/w, y/w, z/w, 1) in the NDC coordinate system can be obtained.
In the NDC coordinate system, the value of x, y is [-1, 1], and the value of z is [0, 1] or [-1, 1] (depending on the view API environment).
//Calculate screen space coordinates usually done in vs v_screenPos = cc_matProj * (cc_matView * matWorld) * In.position;

// Calculating screen space uv coordinates needs to be done in fs. Otherwise, there will be accuracy problems.

vec2 screenUV = v_screenPos.xy / v_screenPos.w * 0.5 + 0.5;
screenUV = vec2(1.0 - screenUV.x,screenUV.y);
The screenUV in the above source code example is the uv value that needs to be used. Use it to sample the reflection map to get the specular reflection effect we want, as shown in the following figure:
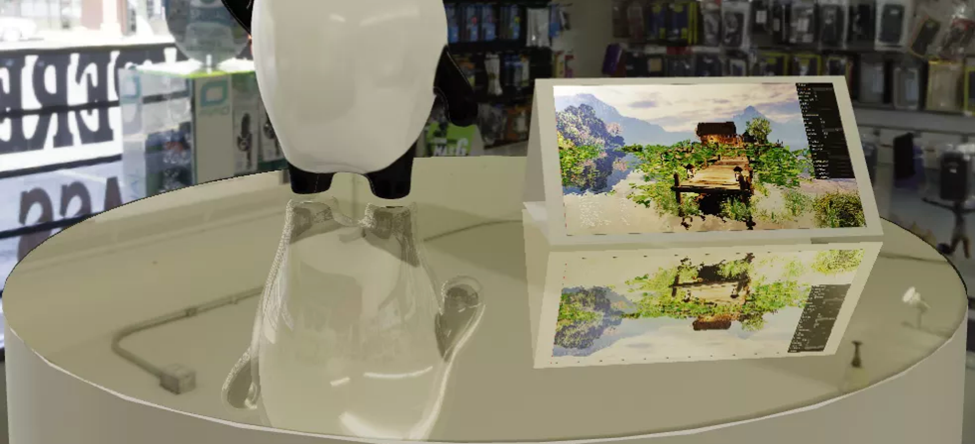
For detailed code, please refer to Mirror.ts, effect-mirror.effect.
7. Plastic case and contours
Let's take a close-up of our Bing Dun Dun first.
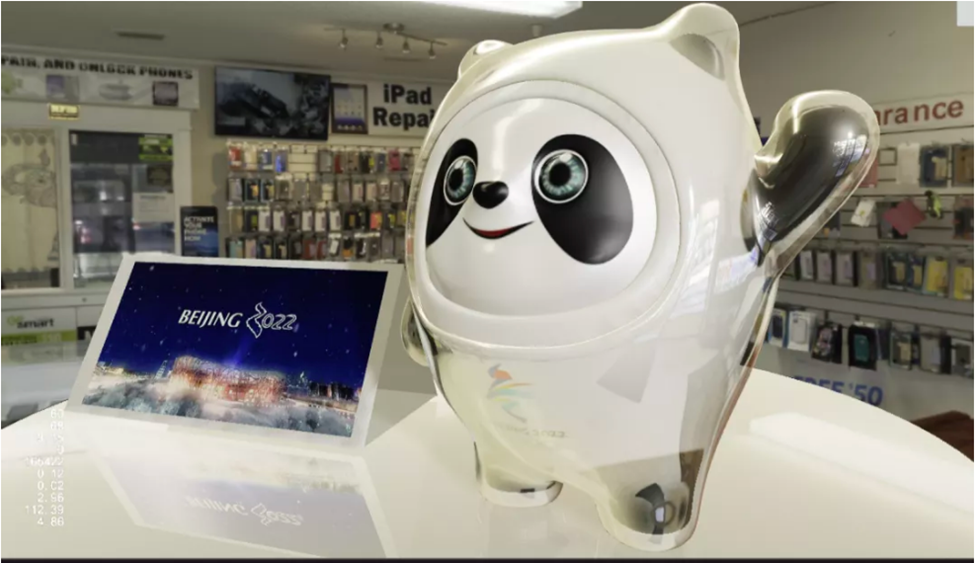
The main reason why the Bingdundun shell in the picture above looks crystal clear is that the rendering is a refraction mechanism, not an ordinary alpha blending.
The mechanism is as simple as putting an elephant in a refrigerator, in three steps:
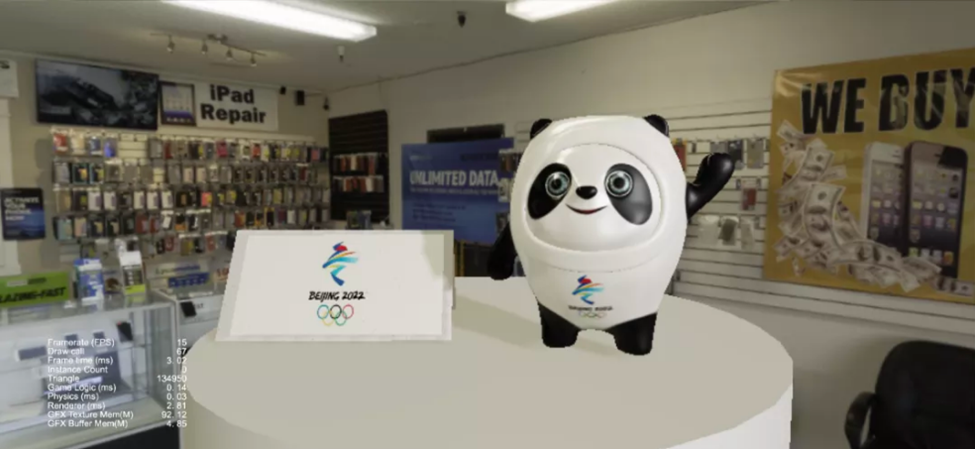
First step
Use a dedicated camera to render opaque objects onto a RenderTexture, as shown in the following image:
Second step
Switch to the main camera and render the scene objects normally.
Third step
Using projection texture technology, use RenderTexture for non-transparent objects when rendering translucent objects. The core code is as follows:
#if AS_REAL_TRANSPARENT
  vec3 V = normalize(v_position - cc_cameraPos.xyz);
  vec3 N = normalize(s.normal);
  float fresnel = 1.0 - dot( -V, N);
  fresnel = pow(fresnel,fresnelPower);

  vec3 R = V - 2.0 * N * dot(N,V);

  vec2 offset = -v_normal_view.xy * refrIntensity;

  vec2 screenUV = v_screenPos.xy / v_screenPos.w * 0.5 + 0.5;

  vec3 sceneColor = texture(sceneMap,screenUV + offset).rgb;
  vec4 temp = texture(envMap,R);
  vec3 reflectionColor = unpackHDRI(temp);
  s.albedo.rgb = mix(sceneColor, reflectionColor * reflIntensity,fresnel);
  s.metallic = 0.1;
#endif
When the camera is turned, the distortion effect caused by refraction can be clearly perceived.
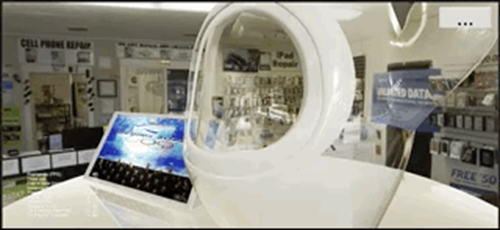
This effect will also appear on the edge of Bing Dun Dun's body.
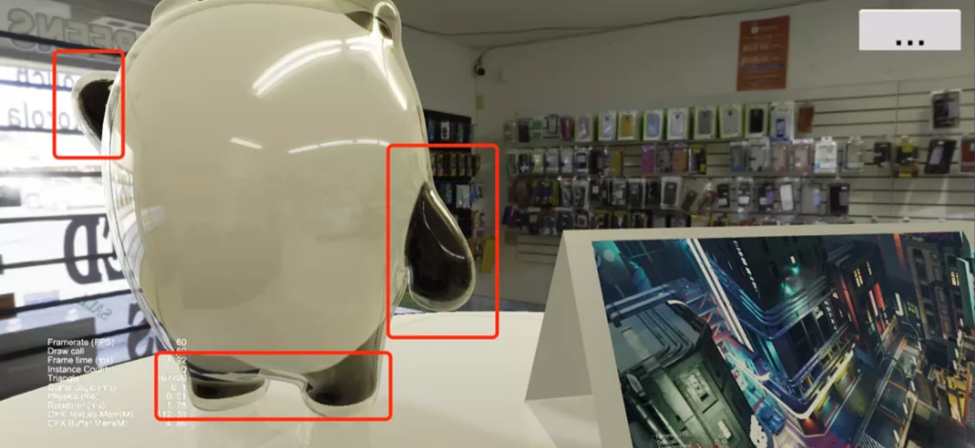
The current version of refraction does not use the index of refraction for calculation but uses the normal direction of camera space for sampling offset.
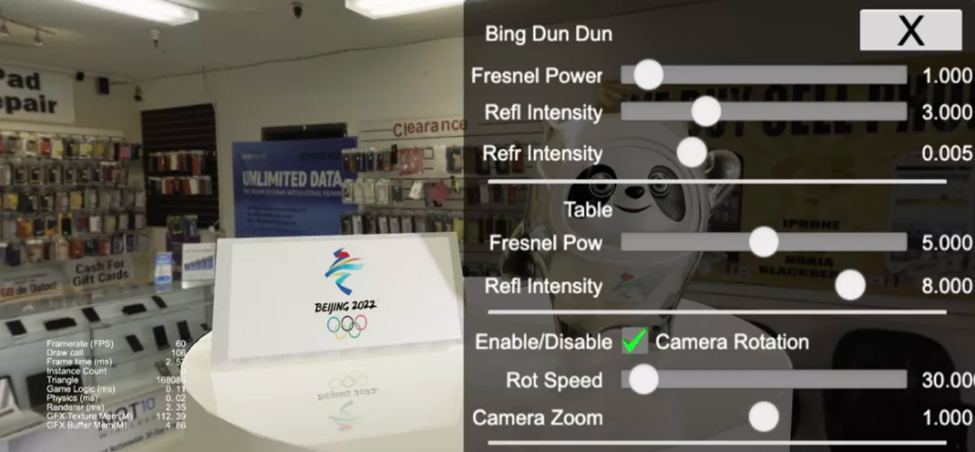
8. Add parameter control panel
For WYSIWYG to recall satisfactory results, the parameter control panel is necessary, as shown below:
Nine, the final effect and source code
Download the demo now and try for yourself (Only available in our Chinese Cocos Store.)
Special reminder: The 3D model of Bingdundun used in this DEMO comes from a material library. This article is for learning purposes. Do not use any of the assets from this tutorial for commercial use.

