In February, TRUE SPACE, an online digital space developed based on Cocos Creator, was opened for the first time. The project leader Chen Hyun Ye will discuss TRUE SPACE's technical highlights and implementation and share how to create a metaverse virtual exhibition with Cocos.
Building Technology TRUE Conference is a high-profile annual industry conference held by the Building Technology Division of Midea. At the end of last month, the second Building Technology TRUE Conference was held in Shanghai. Unlike previous years, this year's conference opened the online digital space TRUE SPACE for the first time, breaking the traditional way of attending the conference and providing a new online virtual shopping experience for most users.
TRUE SPACE is jointly built by TEAM x.y.z. and the IBUX team of the Building Technology Research Institute of the United States, using Cocos Creator to develop various functions such as cloud exhibition, entertainment, social, live broadcast, etc. It is a benchmark class meta-universe online application on the market at present.
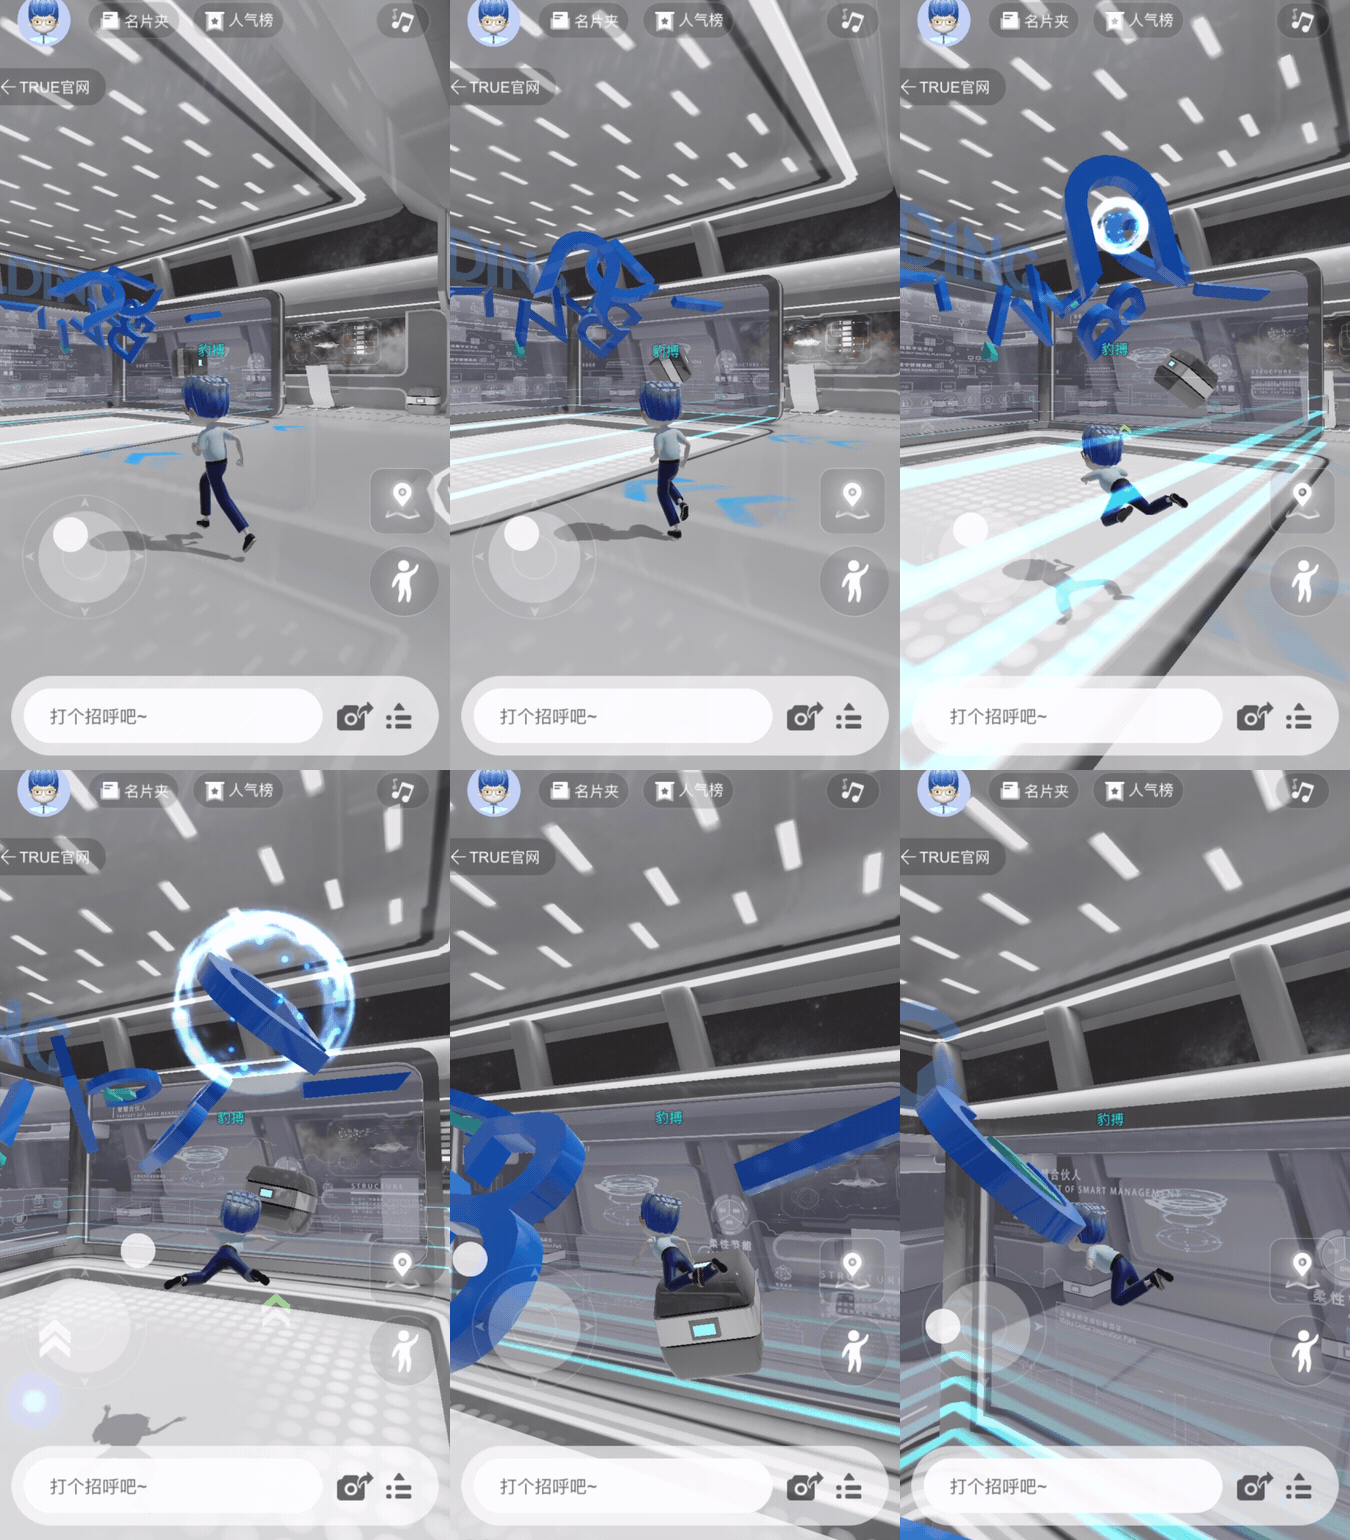
In TRUE SPACE, players can create their own virtual images, tour the eight themed scenes of the conference, and unlock the game interactions and surprise easter eggs hidden in the scenes; players can freely talk to each other, exchange business cards, and communicate with each other, making social activities more convenient and interesting; at the same time, they can also watch the real-time live broadcast of the major forums offline, interacting with each other online and offline.
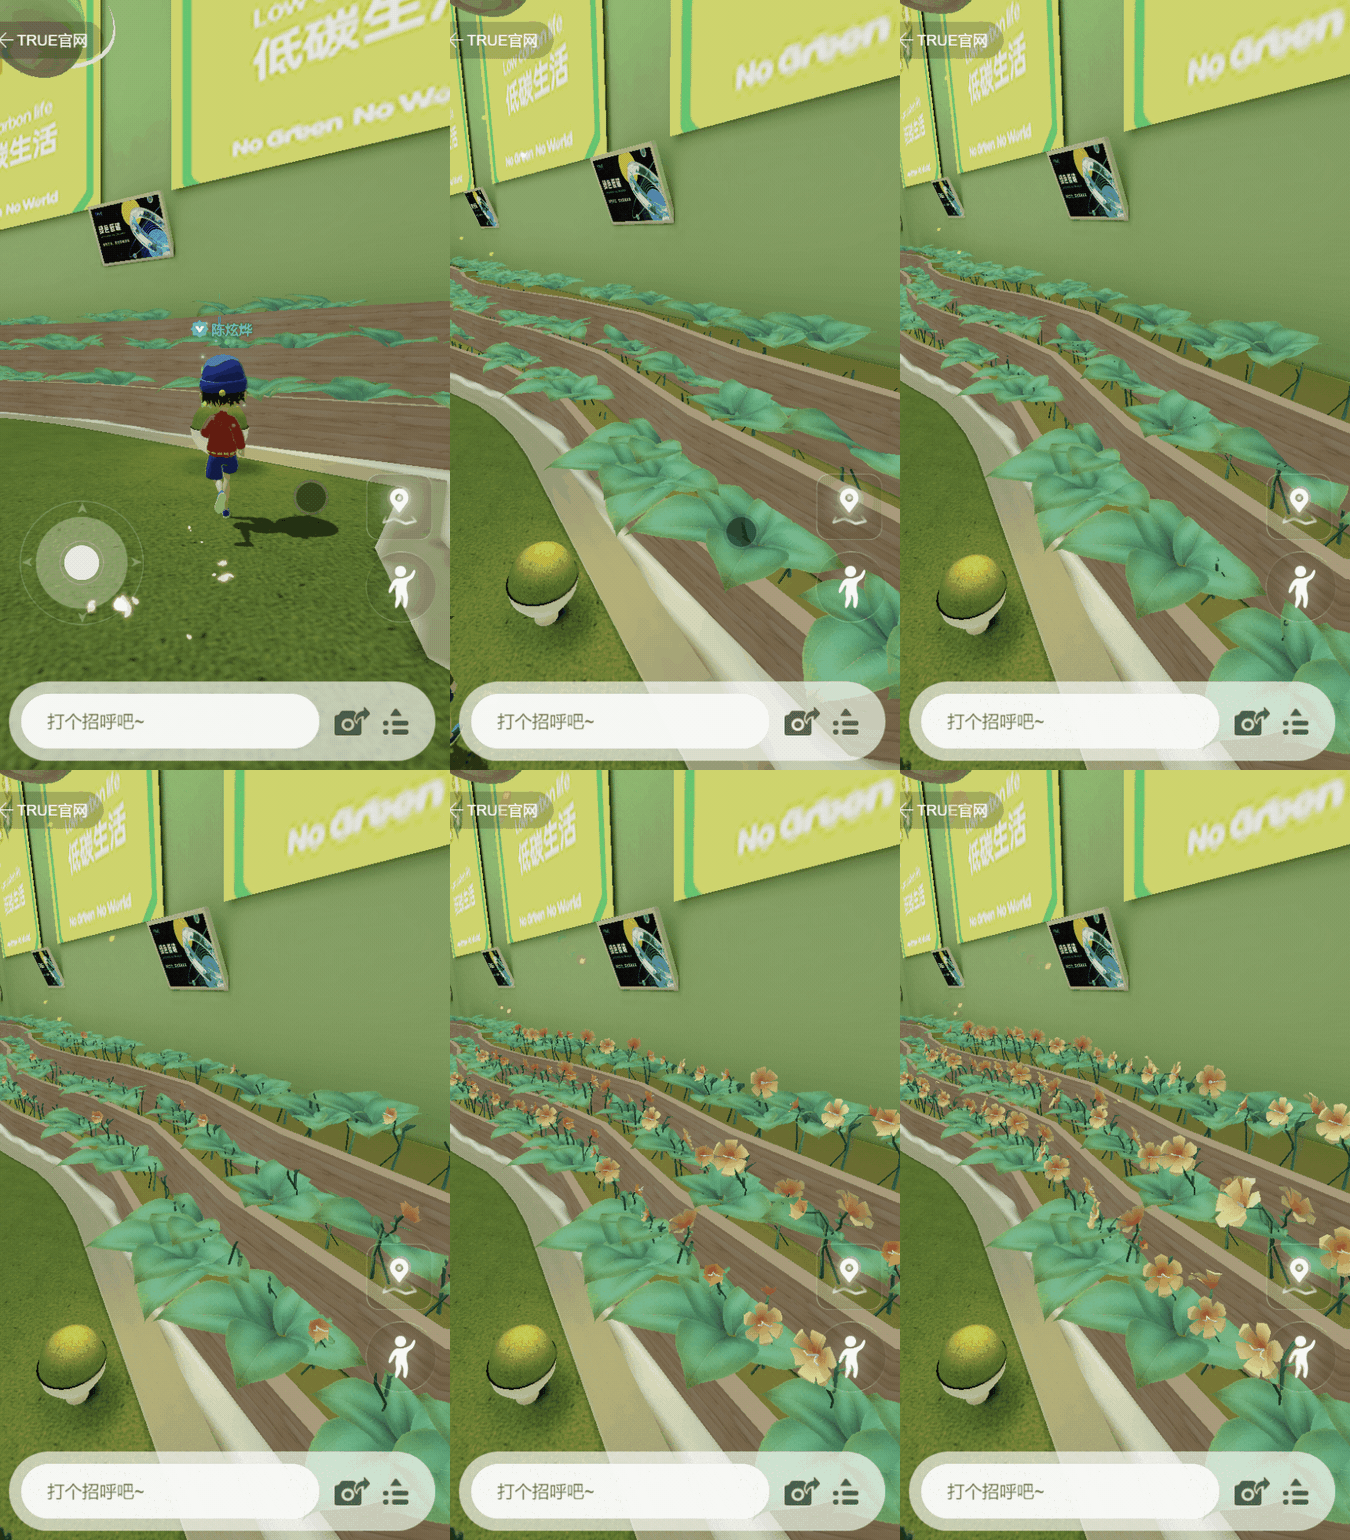
In addition, we have implemented quite a few interesting effects, such as flower growth, weightlessness, shuttles, a body of water, earth navigation, photo sharing, etc. There are a lot of little ideas. In this article, I will pick some of the more general features to share with you.
Technology Selection
Why did you choose to develop with Cocos?
First of all, we wanted TRUE SPACE to be directly accessible through the web and seamlessly integrated with the conference website. Cocos' web publishing capabilities and relatively complete editor capabilities helped us to achieve this, which was the main reason we chose Cocos. In addition, Cocos' engine source code is open source, which makes it easy for us to do some customization and problem-solving.
Technical points
Reflection Probe
Reflections are an important tool for creating texture in a scene. Since the v3.5.2 we were using at the time of development did not support reflection probes, I wrote a reflection probe plug-in to give the scene a better visual representation. Of course, v3.7 added the reflection probe function, so we can create and set it directly in the editor.
Capture
The principle of the reflection probe is very simple: to set the camera's fov to 90 degrees, capture the scene in 6 directions, and store it as a picture. To get a better preview of the image and save storage space, I converted the image into a panorama. I did a pre-convolution calculation based on roughness during the saving process. So the final output image is as follows.
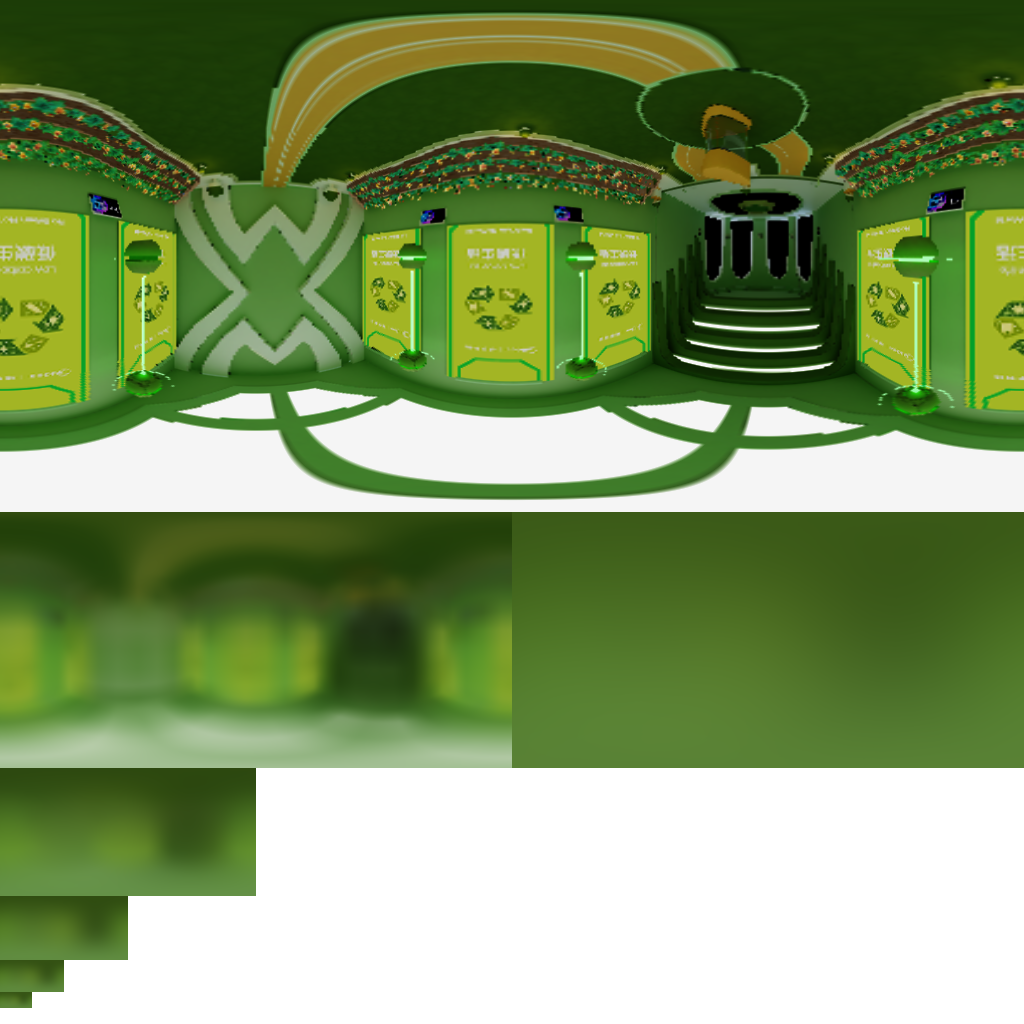
Loading
Loading images into cubemap's multi-level mipmap has a pitfall. In some low-version iOS browsers, setting the mipmap level of the frame buffer is not supported. We bypassed using a frame buffer by reading the texture data directly with the following pseudo-code.
for (let i = 0; i < 6; i++) {
bakeMaterial.setProperty("face", i);
blit(tempRT, bakeMaterial.pass[2]);
cubemap.uploadData(tempRT.readPixels(), level, i);
}
Interpolation
The interpolation of the reflection probes is achieved by using the proportion of the volume of the intersection of the object enclosing the box and the reflection probe box as weights. The code to calculate the intersection volume of the enclosing box is as follows.
Vec3.subtract(__boxMin, worldBounds.center, worldBounds.halfExtents);
Vec3.add(__boxMax, worldBounds.center, worldBounds.halfExtents);
Vec3.min(__interMax, __boxMax, probe.boxMax);
Vec3.max(__interMin, __boxMin, probe.boxMin);
let volume = max(__interMax.x - __interMin.x, 0.001) * max(__interMax.y - __interMin.y, 0.001) * max(__interMax.z - __interMin.z, 0.001);
The Shader code for the probe interpolation section is as follows.
vec3 getIBLSpecularRadiance(vec3 nrdir, float roughness, vec3 worldPos) {
vec3 env0 = SAMPLE_REFLECTION_PROBE(cc_reflectionProbe0, worldPos, nrdir, roughness);
#if CC_REFLECTION_PROBE_BLENDING
float t = cc_reflectionProbe0_boxMax.w;
if (t < 0.999) {
vec3 env1 = SAMPLE_REFLECTION_PROBE(cc_reflectionProbe1, worldPos, nrdir, roughness);
env0 = mix(env1, env0, t);
}
#endif
return env0;
}
boxProjection
If you simply do a reflection of the captured environment, you will find that there is a problem with the space. As shown below, the ground reflection is very incongruous and far from the user.
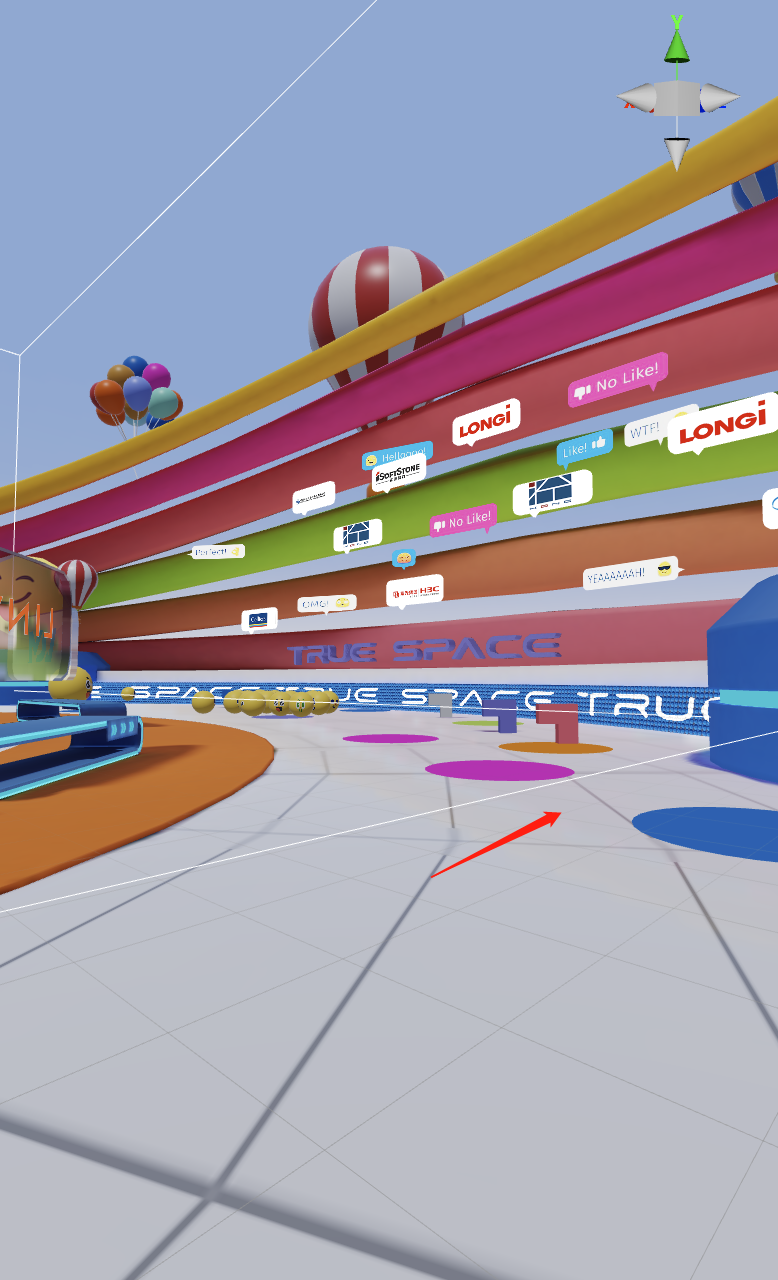
So how to solve it?
The solution is to turn on boxProjection and project the mapped samples into a box so that the ground can reflect the scene in the correct range, giving a relatively correct sense of space (InteriorCubeMap is a similar principle, InteriorCubeMap can be used to make fake interior effects).
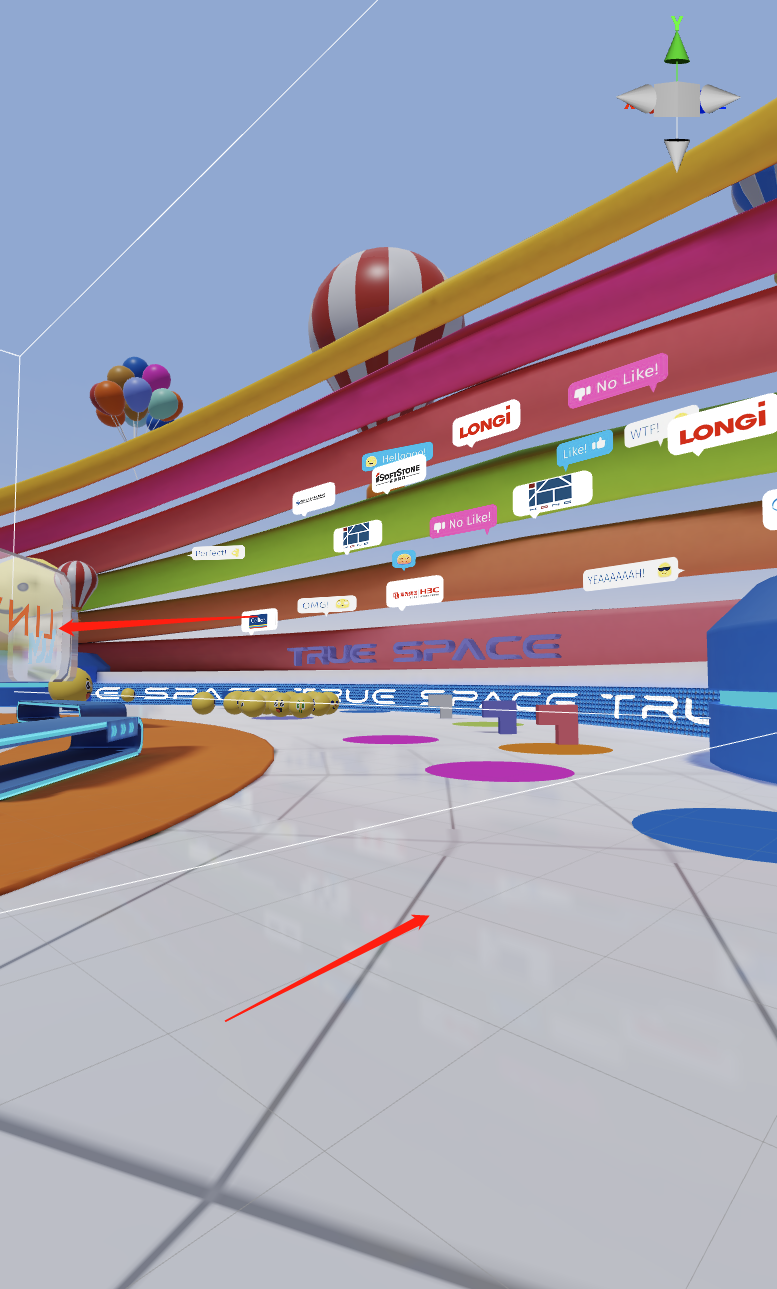
But then a new problem arises, where the box is exceeded, serious sampling errors occur, and borderlines appear at the junction.
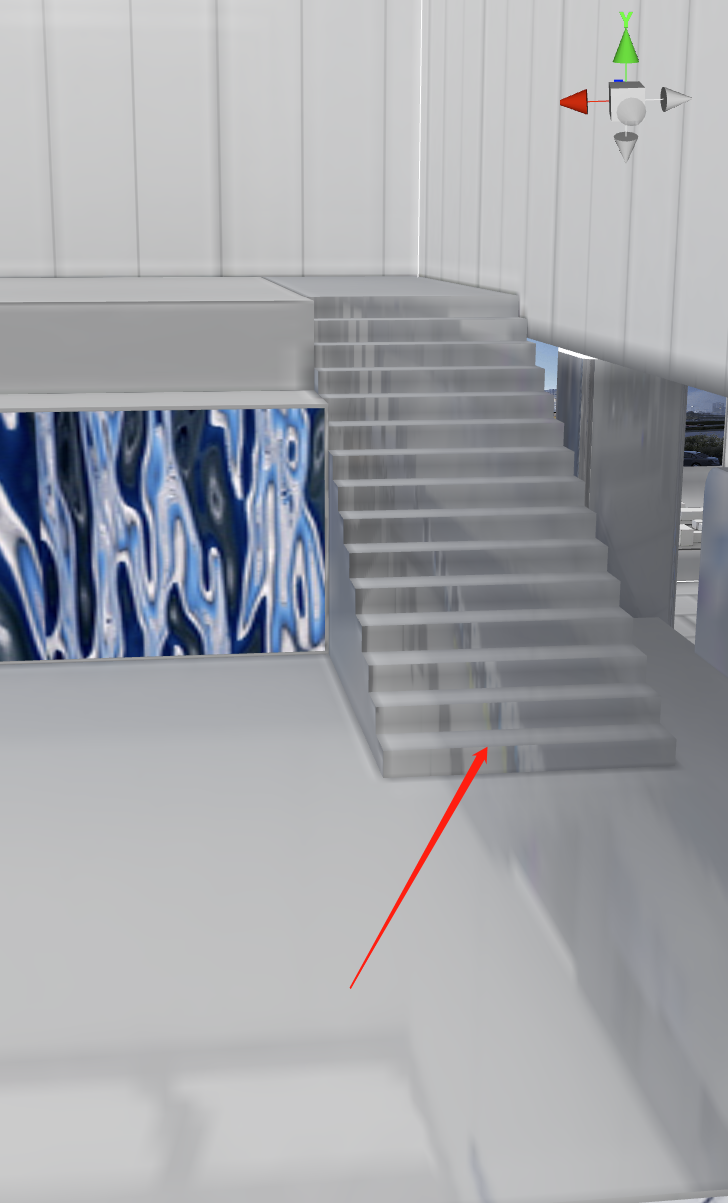
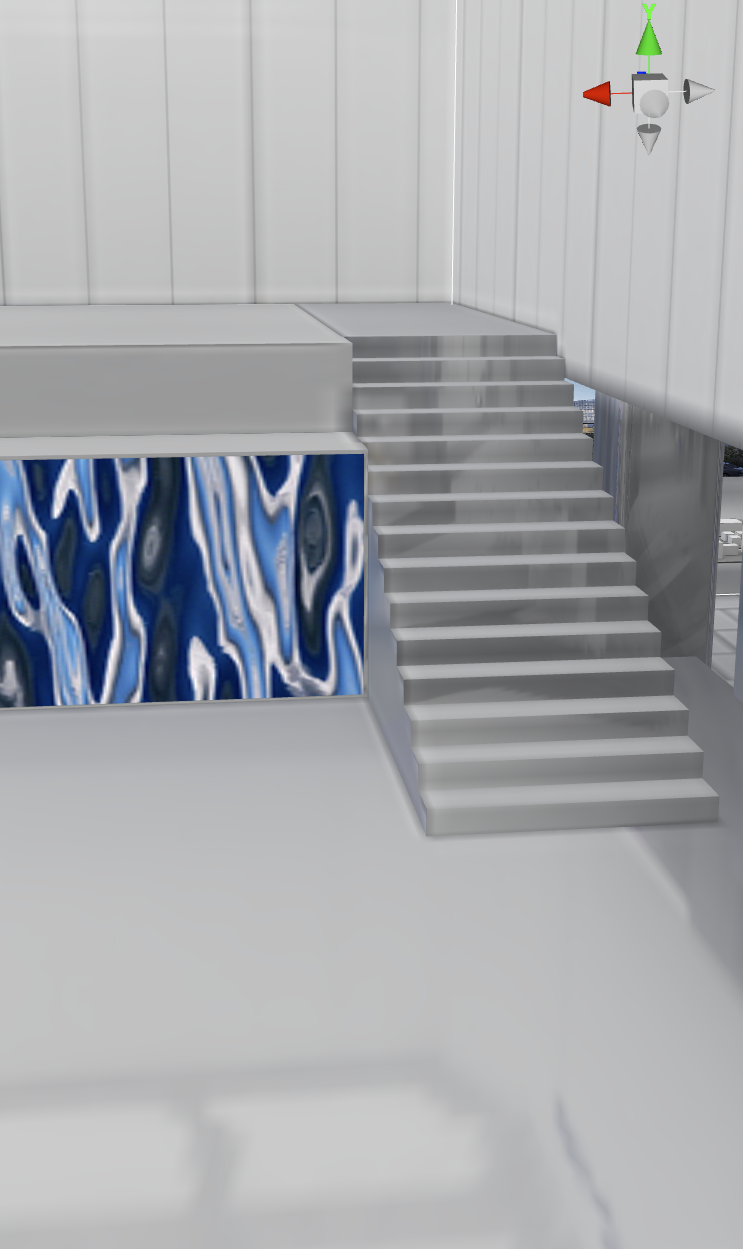
The solution is to set the minimum size of the box to the size of the object's enclosing box, which can reduce a large part of the visual problems.
While writing this plug-in, I encountered many problems, such as gfx does not support cubemap as the output of framebuffer, here I used a hacking method, directly using webgl's native method to bypass gfx, but this will cause platform compatibility problems. However, this plug-in is only for an offline generation, so it's not a big deal. The code snippet is as follows.
for (let i = 0; i < 6; i++) {
gl.bindFramebuffer(gl.FRAMEBUFFER, glFramebuffer);
gl.framebufferTexture2D(
gl.FRAMEBUFFER,
gl.COLOR_ATTACHMENT0,
gl.TEXTURE_CUBE_MAP_POSITIVE_X + i,
glTexture,
0
)
gl.bindFramebuffer(gl.FRAMEBUFFER, cache.glFramebuffer);
camera.node.worldRotation = CameraForwards[i];
camera.camera.update(true);
renderPipeline.render(cameras);
}
PBR optimization
Regular PBR renders include two pre-calculated environment maps corresponding to specular and diffuse. Mobile is very sensitive to mapping bandwidth, so save as much as possible.
Here I have made two optimization strategies, one is to replace the diffuse convolution map with SH, and the other is to use the specular convolution map with the roughness of 1 directly.
The second solution looks very close to the diffuse convolutional map and requires fewer resources. One convolutional map is enough, so I use this solution and do all the support in the plug-in. The calculation of PBR is in linear space, and the final output has to do a tonemap (converting HDR to LDR) and gamma correction. Here I combine the two together as an approximation.
x = x/(x+0.187) * 1.035;
Dynamically generated posters
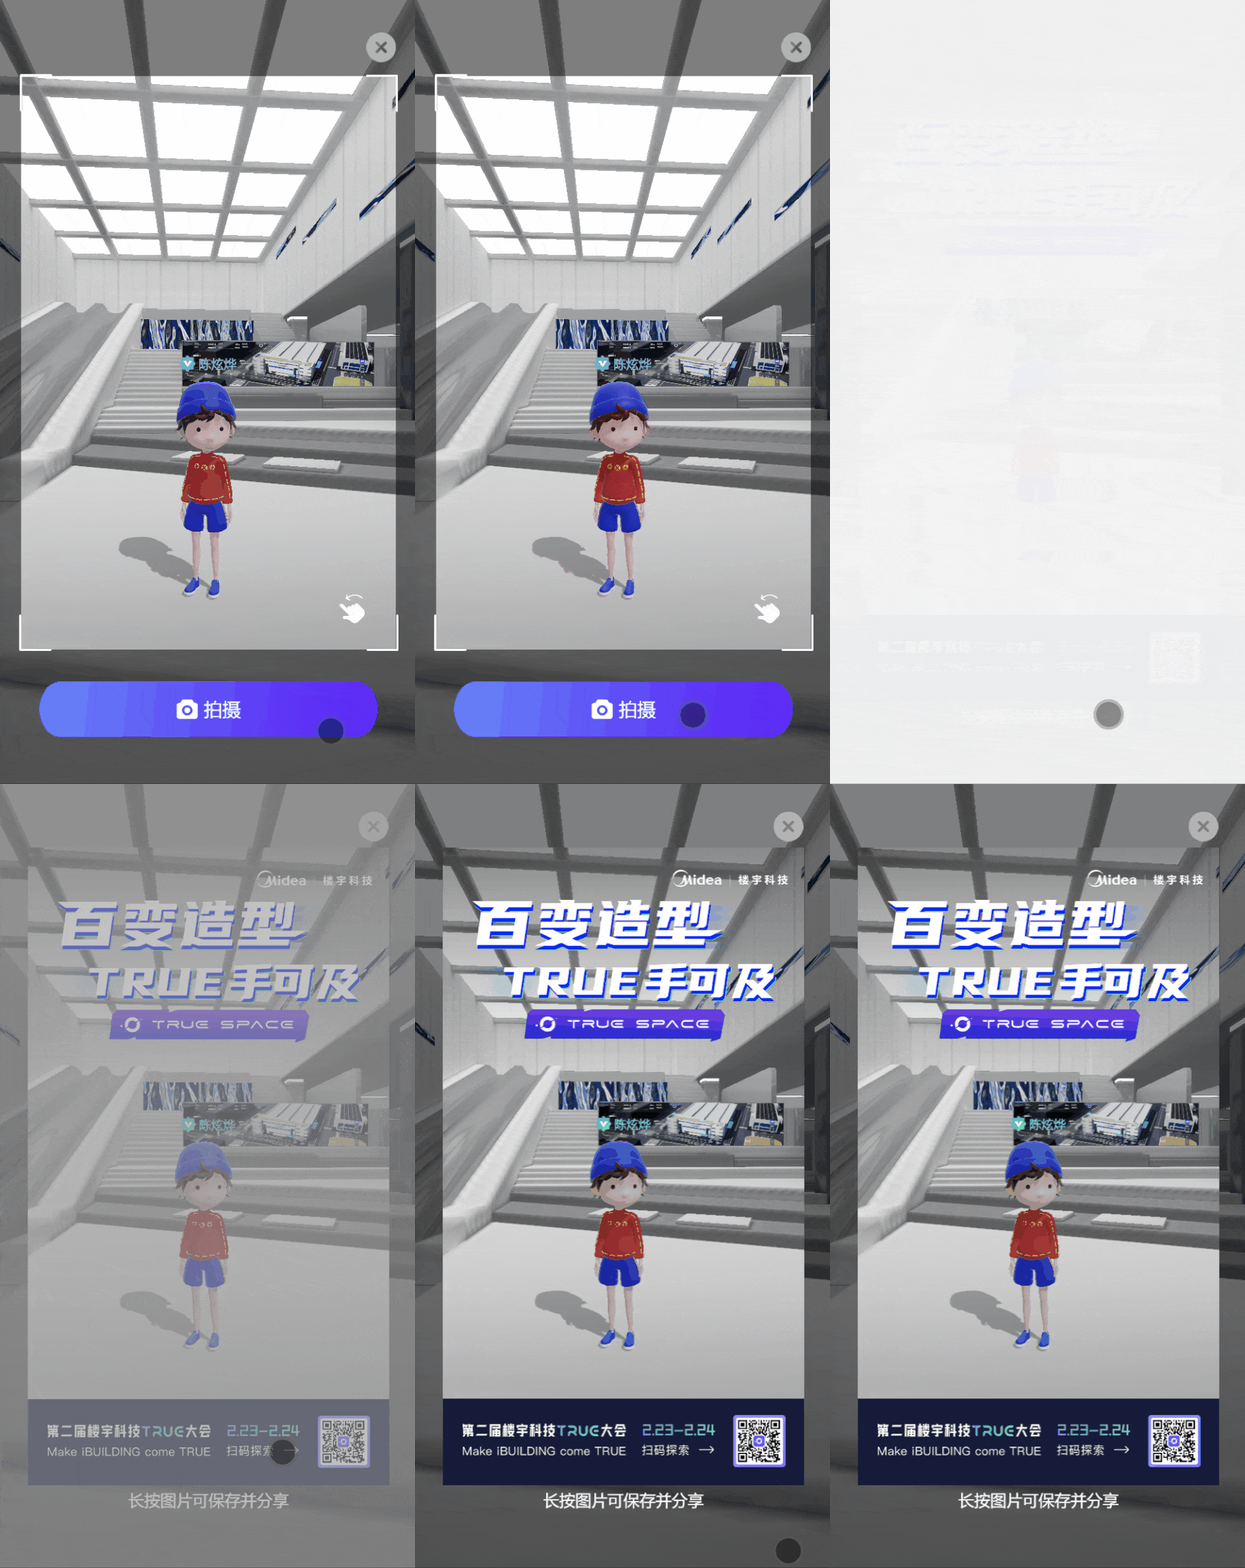
TRUE SPACE made a photo-sharing function that allows users to generate a poster of their play to share with their WeChat friends. There are two problems behind this: how to generate this image and how WeChat can recognize this image.
Generate image
The main principle of generating posters is to use the targetTexture function of the camera. The user can output the content captured by the camera to a renderTxture, then give this picture to the spriteFrame of Spite.
So the processing flow is like this, first, use the scene camera to render the 3D scene to a renderTxture, then use the UI camera to render the UI to this renderTxture. You can get a complete poster.
So can we share the poster directly after it is generated? The answer is no. WeChat can't recognize the image because it's not an image by nature. So we have to turn it into a real image.
WeChat recognizes the image
After testing, we found that WeChat can recognize img tags and be used for sharing between friends. Hence, the question above becomes how to convert renderTexture to img tags.
Cocos' renderTexture has a built-in readPixel method that reads the image data directly. So it's just a matter of generating a dataURL of the image data to feed to the img tag. The final pseudo-code looks something like this.
function ToObjectURL(RT, x, y, width, height) {
let pixels = RT.readPixels(x, y, width, height);
if (pixels) {
let canvas = document.createElement('canvas');
canvas.width = width;
canvas.height = height;
let context = canvas.height.getContext('2d')!;
let imageData = context.createImageData(width, height);
context.putImageData(imageData, 0, 0);
return canvas.toDataURL("image/png");
}
}
let img = new Image(width, height);
img.src = ToObjectURL(RT, x, y, width, height);
game.container!.appendChild(img);
Dynamic UI adaptation
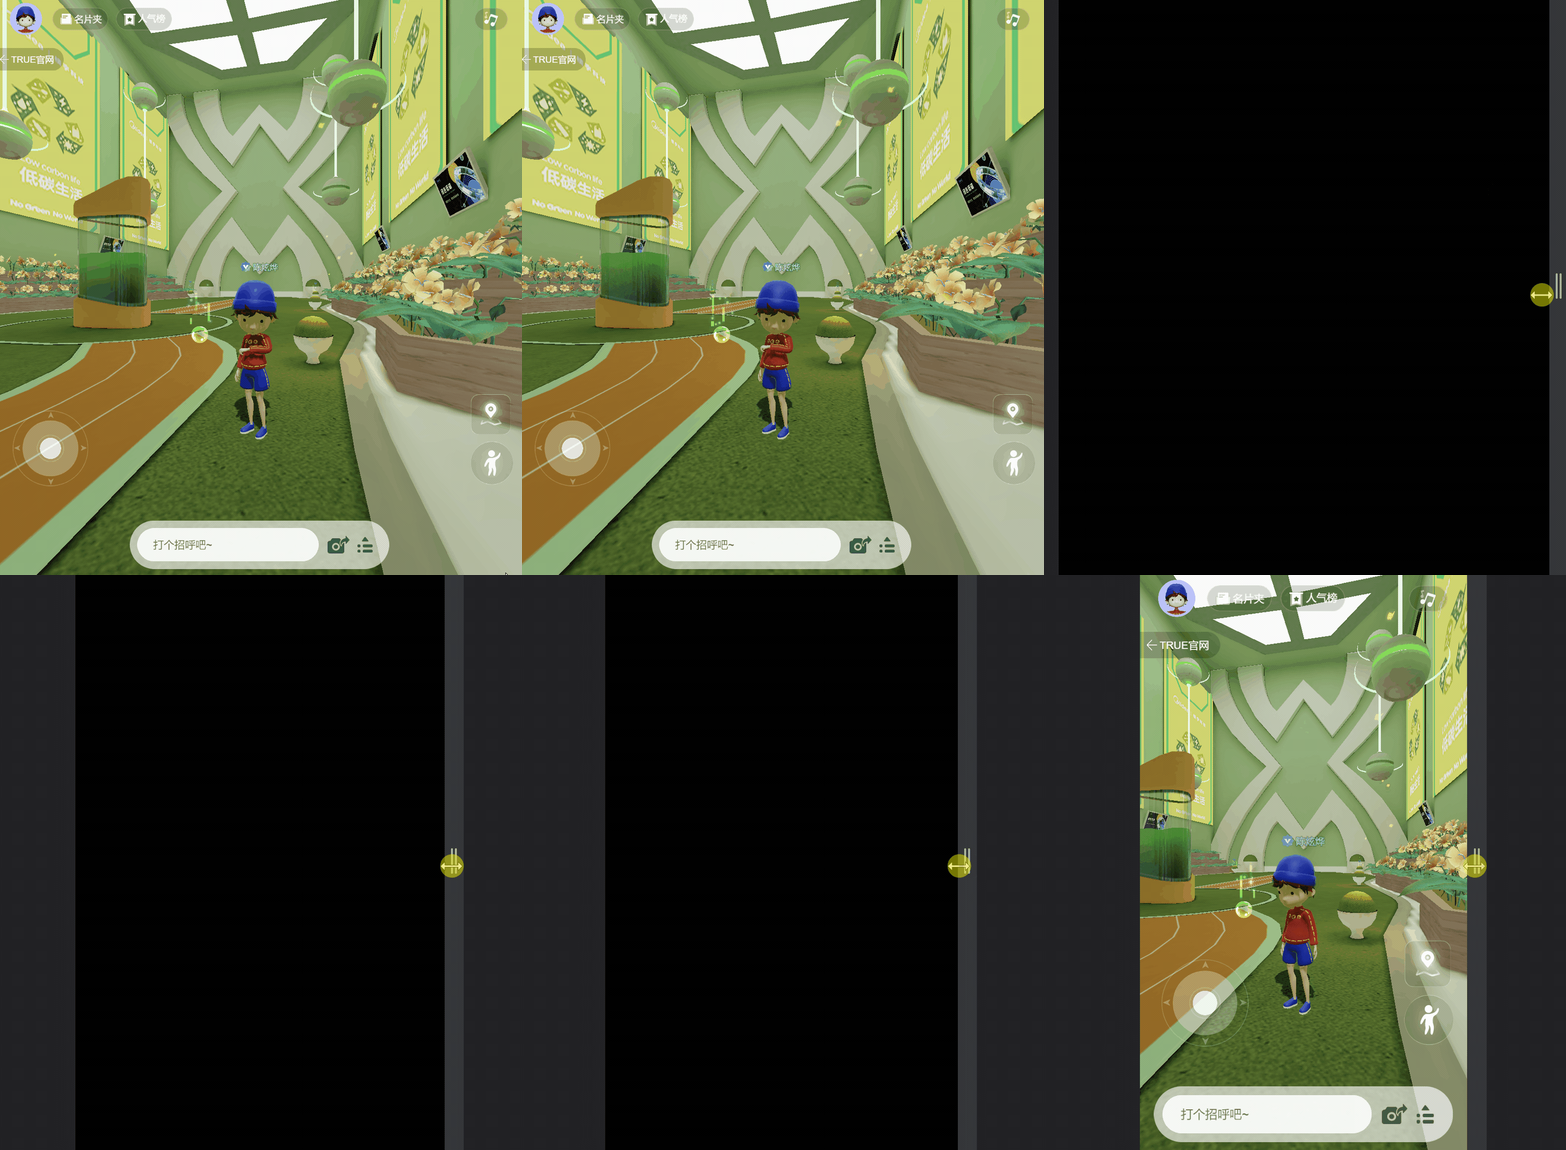
By default, the UI will have a serious disproportion when the browser resolution is not the same as the design resolution. TRUE SPACE has done a complete platform adaptation, and the UI ratio will be adapted according to the aspect ratio, including the folding screens can also be adapted.
Here is the adaptation code for the design resolution.
function onVisibleSizeChanged() {
let size = view.getVisibleSize();
let ratio = size.width / size.height;
if (ratio > 1) {
ratio = ratio / 1.8 * 1.5;
view.setDesignResolutionSize(1920 * ratio, 1080 * ratio, ResolutionPolicy.FIXED_WIDTH);
}
else {
ratio = lerp(1, ratio / 0.48, ratio >= 0.6 ? 1 : 0);
view.setDesignResolutionSize(750 * ratio, 1334 * ratio, ResolutionPolicy.FIXED_WIDTH);
}
}
Image change
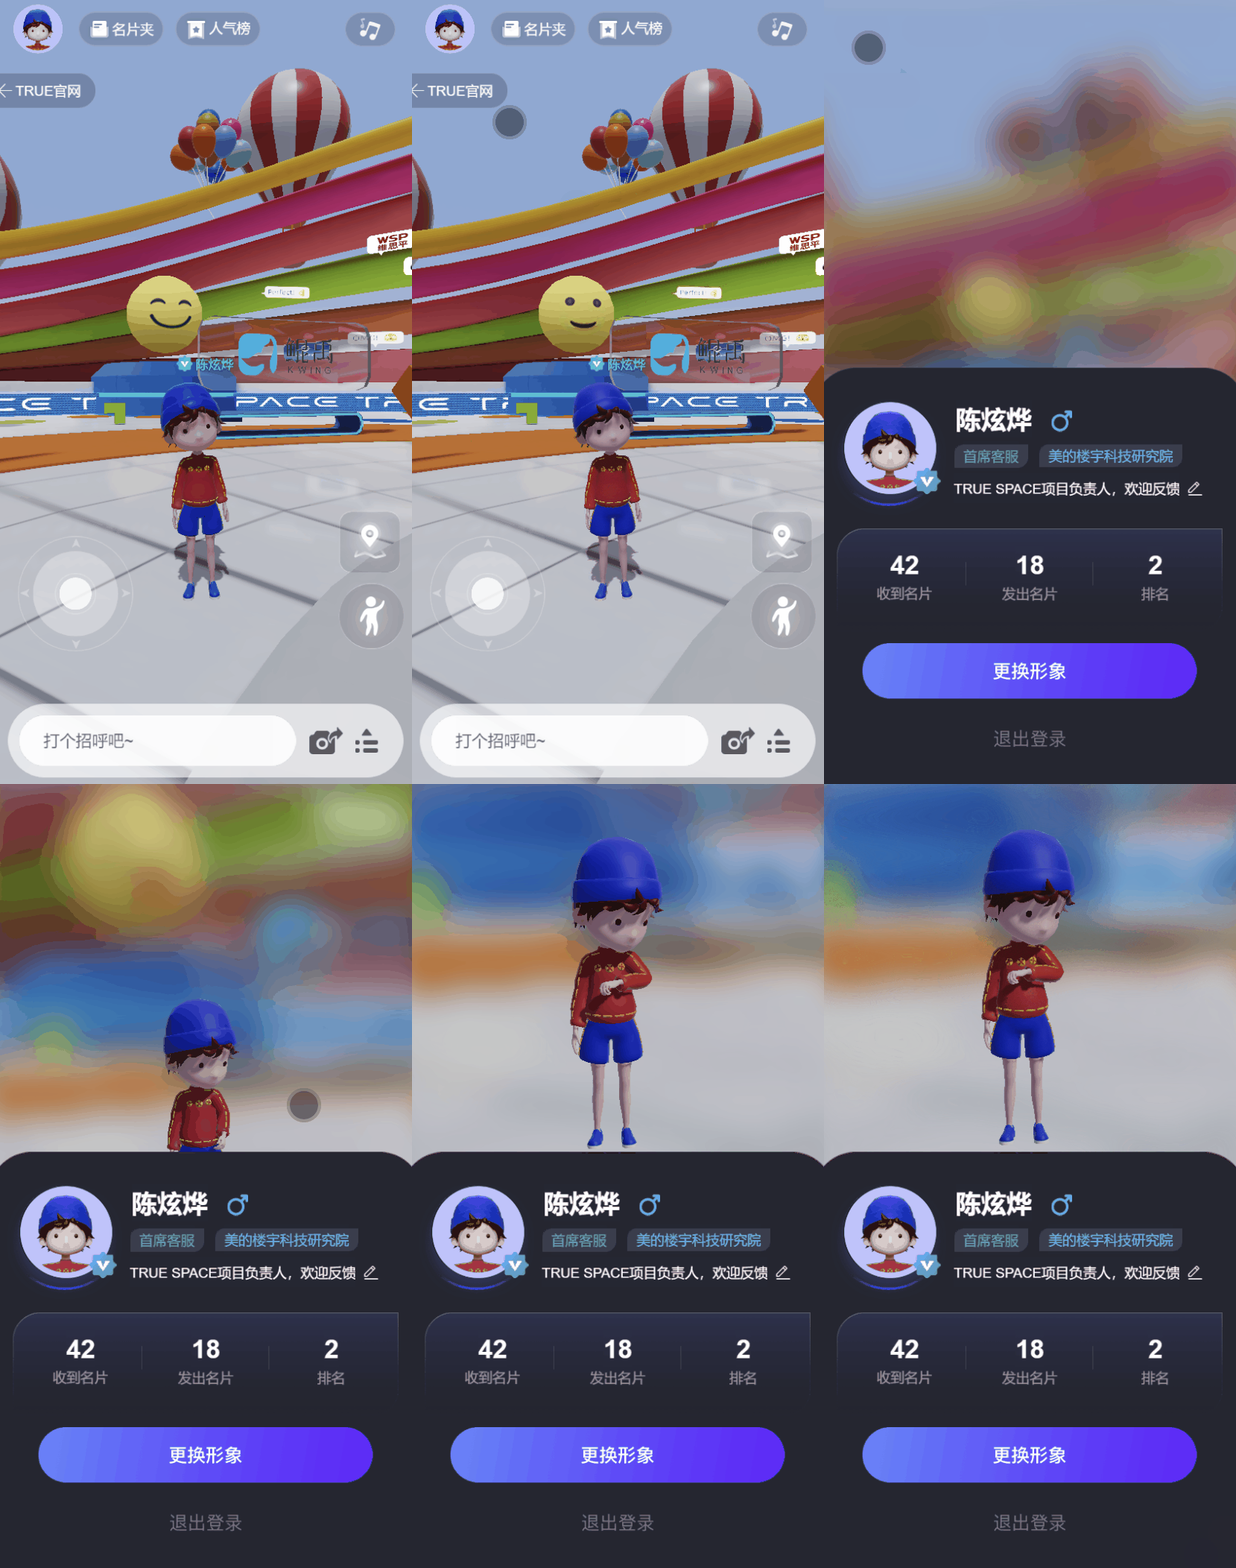
The operation of TRUE SPACE to change the image is quite interesting: the camera will advance towards the character, the background will be defocused, and any object will not obscure the character.
How is this achieved? Actually, two cameras are used here. One camera is responsible for rendering the scene when the individual avatar is clicked. The other camera is responsible for rendering the character, clearing the depth (clearFlags is set to DepthOnly), and rendering the character to the very front of the screen.
Scene switching animation
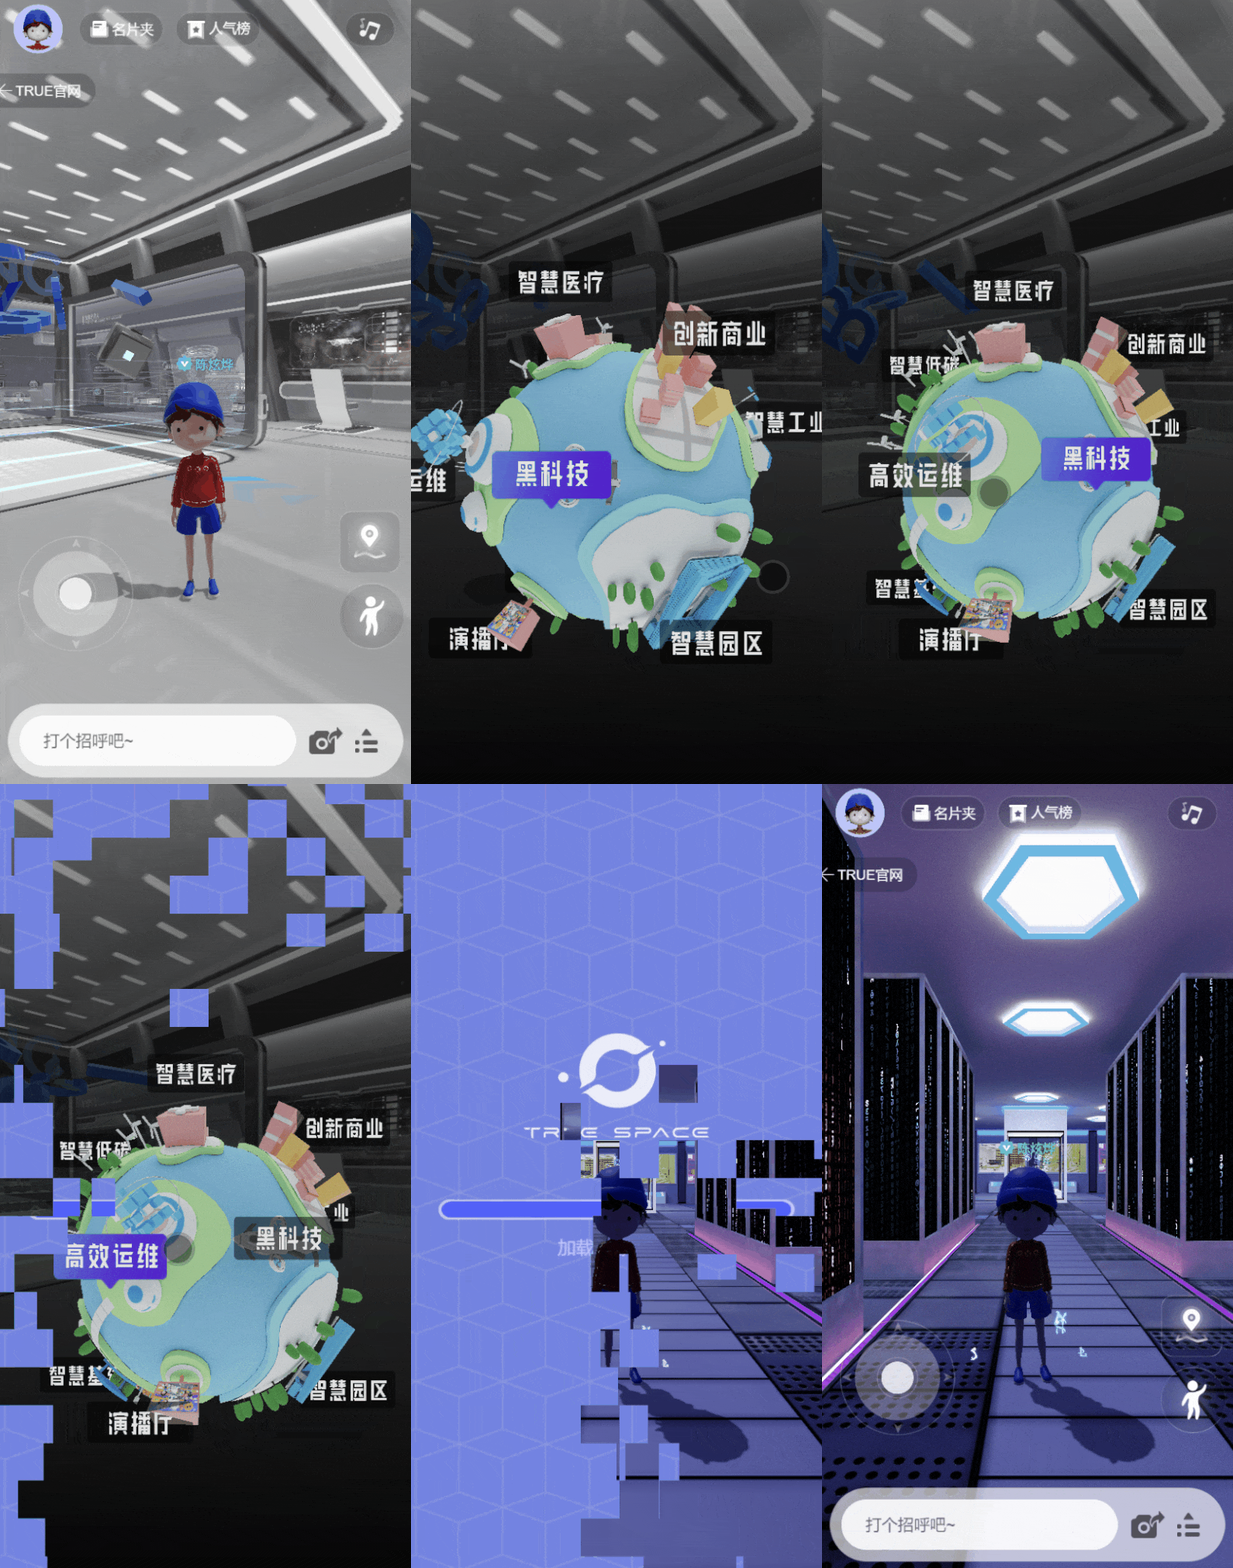
The principle is to render the UI to a renderTexture, then assign the renderTexture to a Sprite, and finally implement it with a custom SpriteMaterial.
When the browser size changes, reusing the renderTexture can cause the Sprite to lose the image. After much trial and error, I finally solved this problem by using new RenderTextue() with the following code.
let size = view.getVisibleSize();
if (this._loadingTexture.width != size.width || this._loadingTexture.height != size.height) {
this._loadingTexture.destroy();
this._loadingTexture = new RenderTexture();
this._loadingTexture.reset({ width: size.width, height: size.height });
let spriteFrame = new SpriteFrame();
spriteFrame.texture = this._loadingTexture;
this.loadingSprite.spriteFrame = spriteFrame;
this.camera.targetTexture = this._loadingTexture;
}
Other
Two other plug-ins were used in the development of TRUE SPACE. One is the open-source framework TSRPC developed by King for multiplayer state synchronization; the other is my own visual intelligent camera system Cinestation, which has intelligent tracking, priority control, track movement, noise control, timeline animation, etc. It supports configuring any number of lenses to accomplish complex camera blending and motion effects. It is used in the project to create various lens animations.

